Using security groups
To add a new security group, go to Infrastructure → Network.
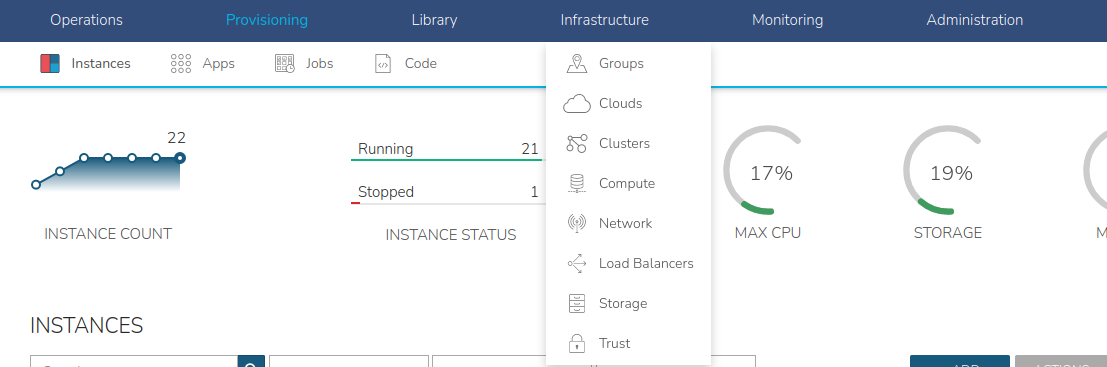
You will see the following menus:

Click on “Security Groups” menu. You will see the list of security groups.
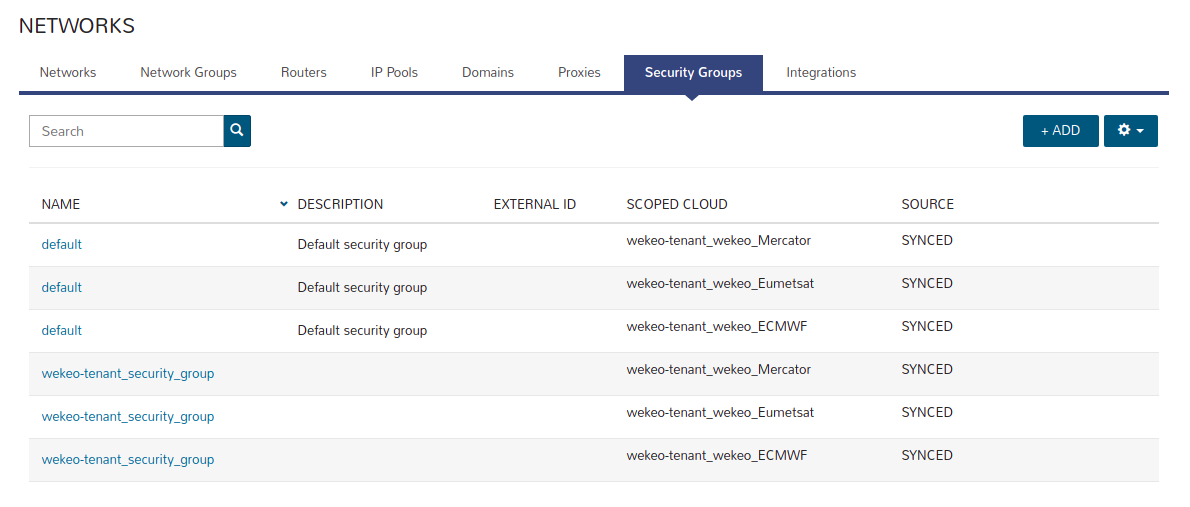
Each new tenant in the Security Groups panel has 2 default security groups:
- default - each instance with the "default" security group, because the instances that will be in this group will have internal communication,
- <tenant_name>_security_group - security group, which by default has rules on SSH and ICMP.
You can't edit these two security groups because they were created from Master Tenant level. However, you can create new security group with any rule by pressing the "+ADD" button.
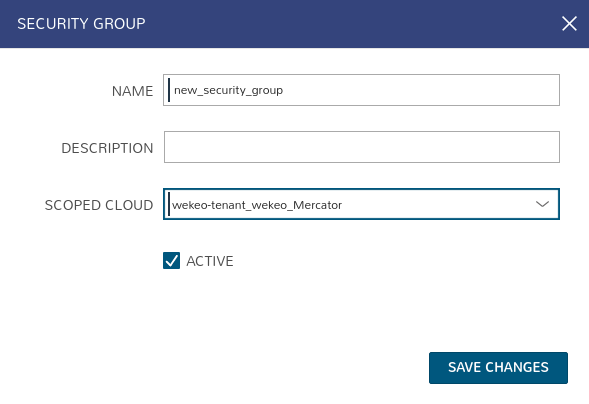
After pressing the “+ADD” button, a window with the form for creating a new security group should appear:
- NAME - name of the new security group,
- DESCRIPTION - description of the new security group,
- SCOPED CLOUD - select the cloud on which the new security group will be created. We do not recommend using the "All" option in the "SCOPED CLOUD" field.
After completing the required fields, press the "SAVE CHANGES" button.
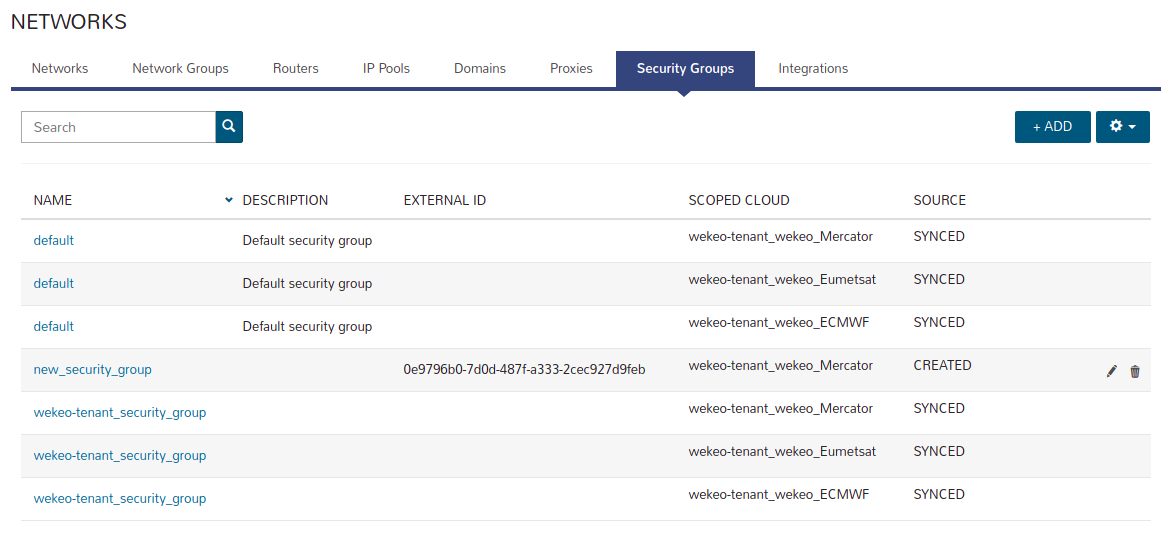
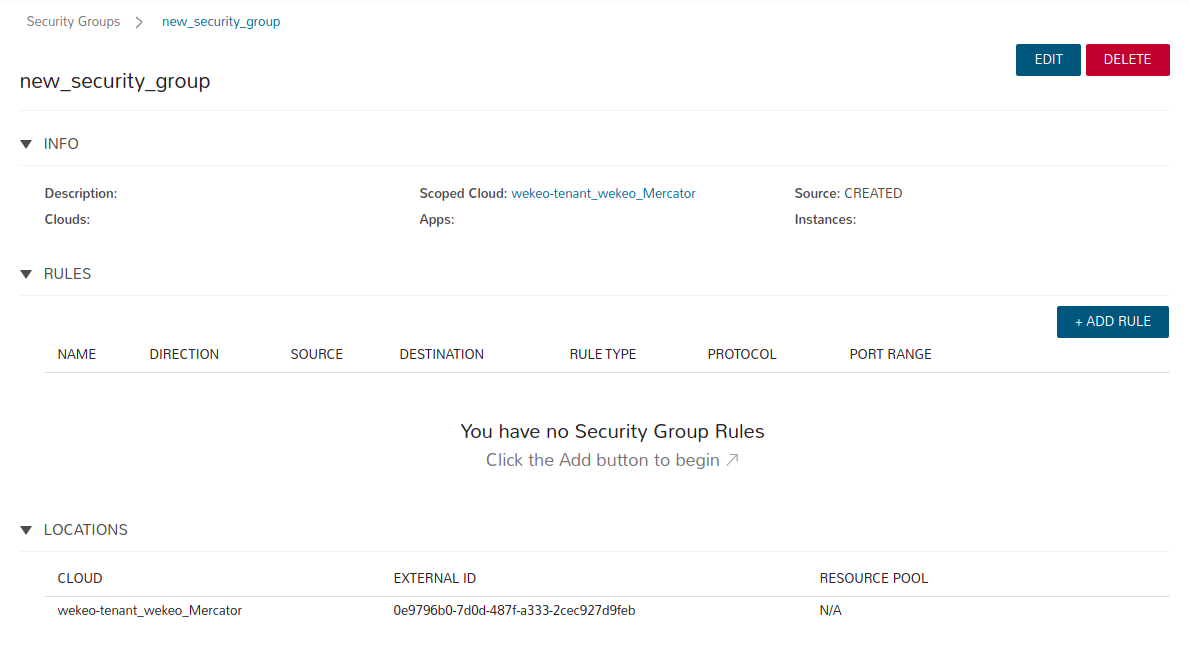
The newly created group should be visible in the security groups panel with the value "CREATED" in the "Source" column. The value "SYNCED" means that the given security group has been synchronized, while the value "CREATED" means that the given group was created by one of the tenant members.
As you can see next to the newly created security group, a pencil icon appeared that allows you to edit the created group and a trash icon that allows to delete the group.
To manage the rules of a given security group, click its name.
In the RULES section, you can view the rules that apply to this security group.
To add a new rule to a given security group, press the "+ADD RULE" button.
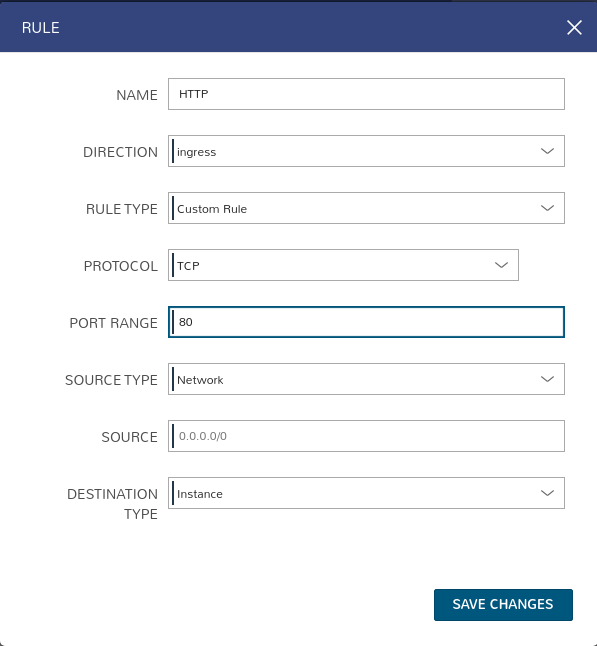
After pressing the button, a window with the form to create new rules will appear:
- NAME - name for the new rule,
- DIRECTION - depending on rule you want to create, you can choose "ingress" or "egress",
- RULE TYPE - change to "Custom Rule" option,
- PROTOCOL - depending on rule you want to create, select the protocol you are interested in, for our example it will be TCP,
- PORT RANGE - port to which the new rule will apply, for example, we chose HTTP port 80,
- SOURCE TYPE and DESTINATION TYPE - depending on the rule you want to create, you can specify the source and destination,
- SOURCE - range of addresses that will have access to the port. By entering the value "0.0.0.0/0" the port will be accessible from any address.
After completing the required fields, press the "SAVE CHANGES" button.
Please bear in mind that you have to explicitly fulfill the “SOURCE” field. If you leave the field as it is, you will get an error:
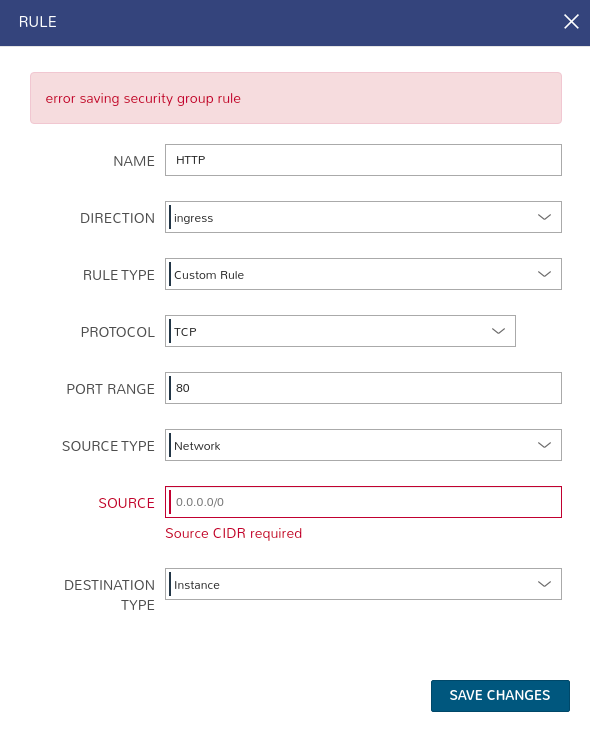
After properly filling the “SOURCE” field, you can see the newly created rule in the RULES section.
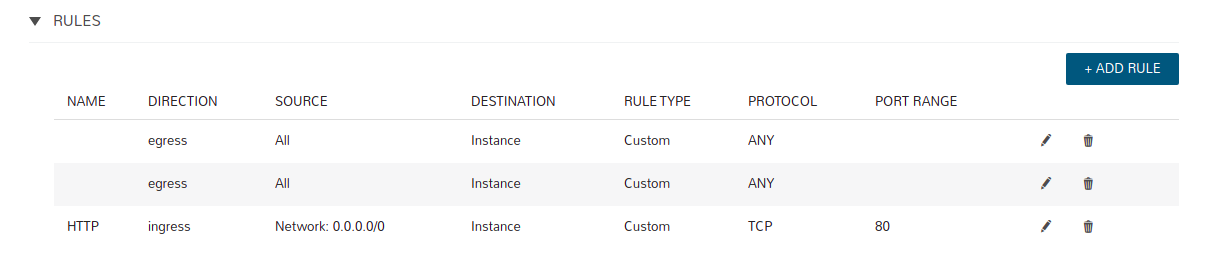
Creating a new security group does not add it to the instance. The new security group must be manually attached to the instance.
To do this, go to Provisioning → Instances, and then click on the name of the instance to which you want to add a new security group.
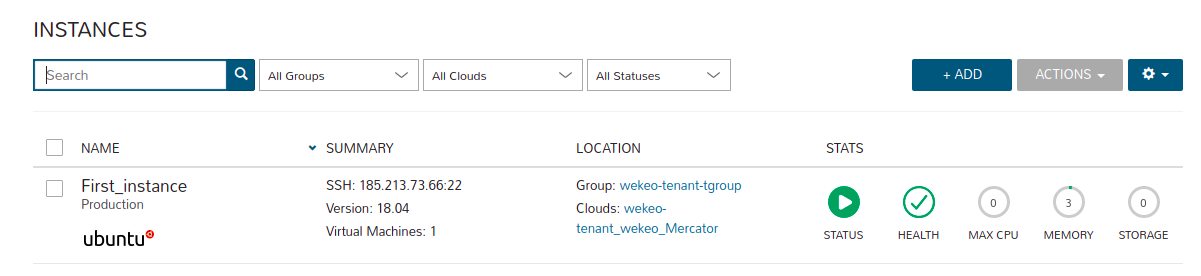
After clicking on the name of the instance, you will see:
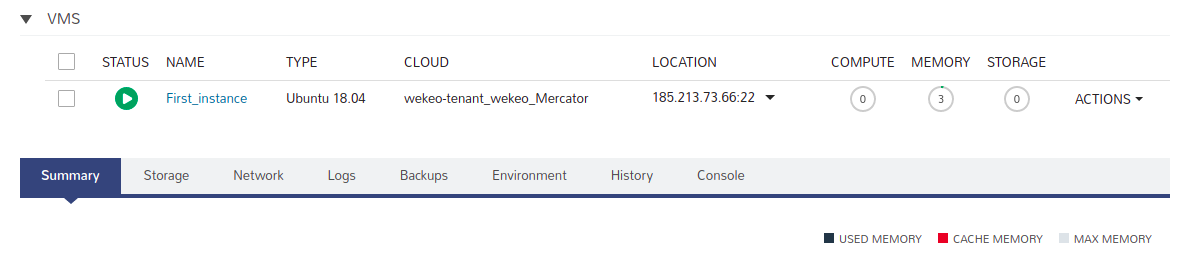
Now click on "Network" tab. You will see the following screen:
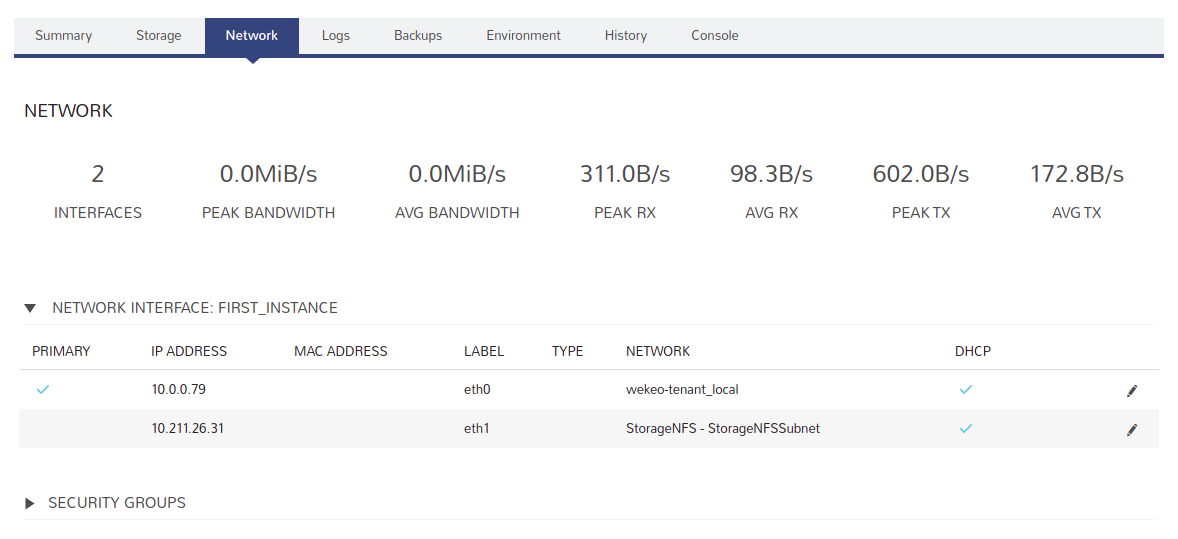
After expanding the "SECURITY GROUPS" bar, you can see the current security groups that are added to the selected instance.
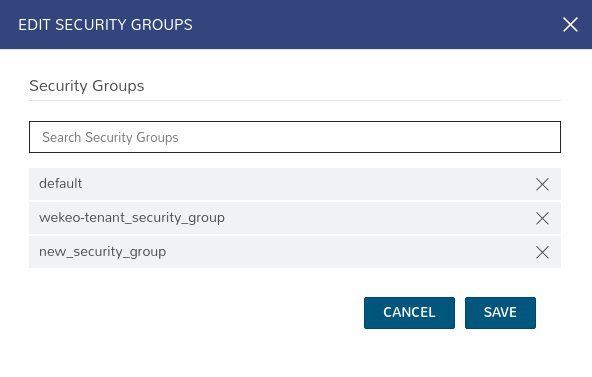
To add or remove a group, press the "EDIT SECURITY GROUPS" button.

After pressing the button, a window with the edition of security groups for the selected instance will appear. If you want to delete a given security group, press the If you want to delete a given security group, press the "X" button next to the given group.
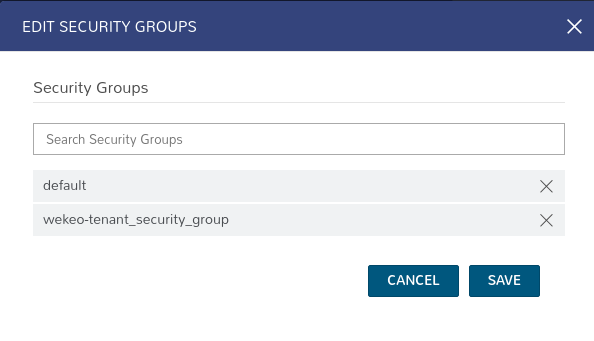
If you want to add another one, start typing its name in the “Search Security Groups” field, and then click on the searched group.
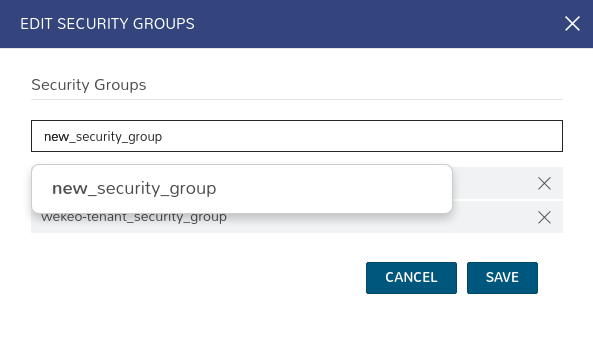
After seeing the new security group on the list, press the "SAVE" button.
The newly added security group for the instance will be visible in the "SECURITY GROUPS" bar.
